As a writer, you’re going to need pictures. Professional author photos appear on the back of your book, in event documentation, rock your social media pages, and more—there are a ton of ways you can use photography in your favor. With technology improving more rapidly than ever, the general public is getting better and better at spotting amateurish photography. The good news is that professional-looking photography is no longer only for professional photographers.
Basic Tips
 There are a few basic tips to keep in mind whenever you are taking any kind of photos:
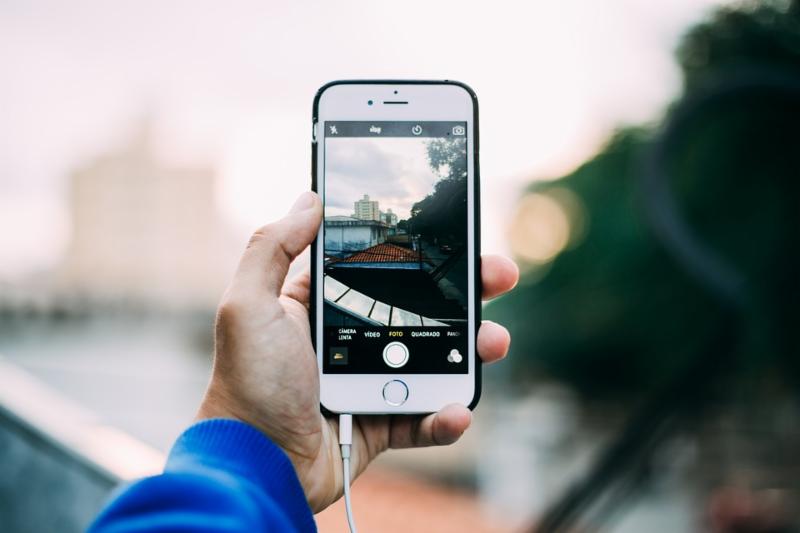
- If you have access to one, use a real camera. If you don’t, try an iPhone, as they have excellent cameras.
- Make sure your light source is in front of the subject, meaning the light source is often behind the photographer, not behind the subject. Capturing the sun or another bright light in the background can overwhelm the shot. Taking photos through shadows of tree branches will cut up your shot visually.
- Take photos head-on when possible. This is more important when photographing books than people, as the linear outline of a book reveals an off-kilter shot more obviously than the roundness of someone’s head. If the shot is going to be crooked or off-center, make sure it’s deliberately so.
- Take many pictures, then scroll through to find the ones that are most attractive, level, and in-focus.
Taking Excellent Author Photos
 Your author photo is the only image most of your readers will see of you. If you can’t have professional headshots taken, here are some tips for getting that perfect shot:
- Have someone else take the photo. It’s clear when your author photo is a selfie, which is a more casual kind of photography.
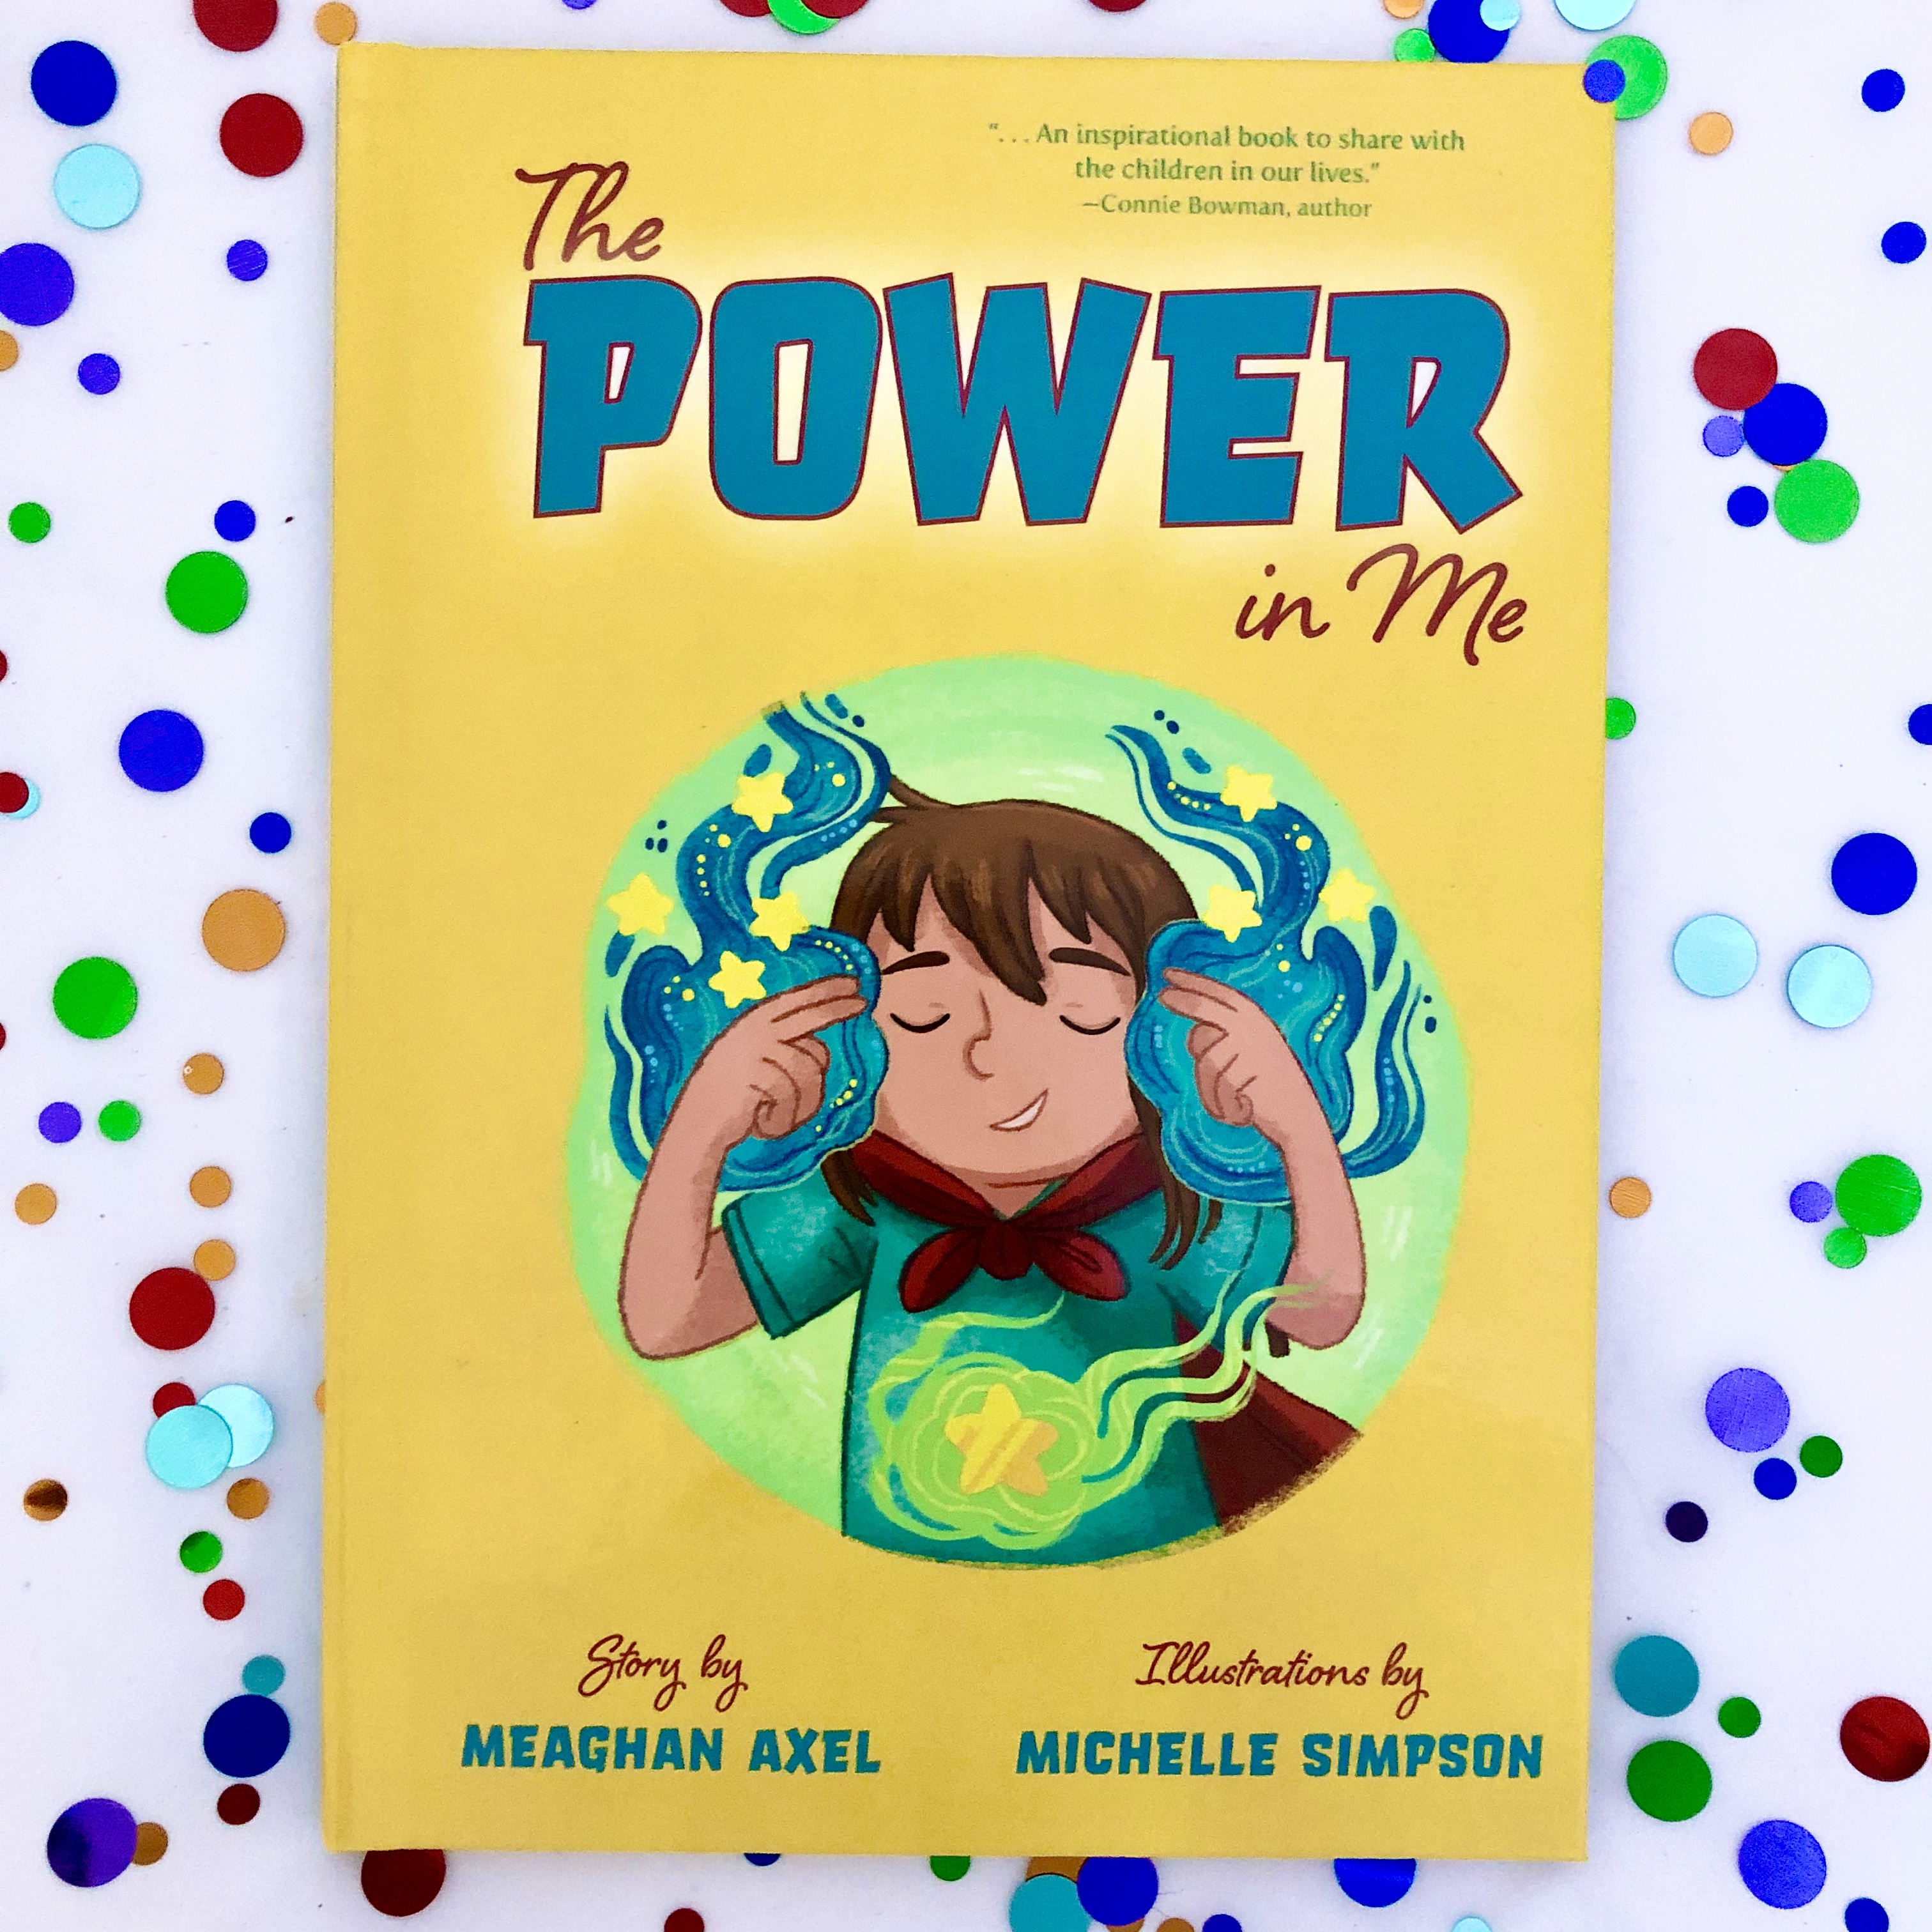
- Wear something with no logos or distracting images and in a color that makes your features pop!
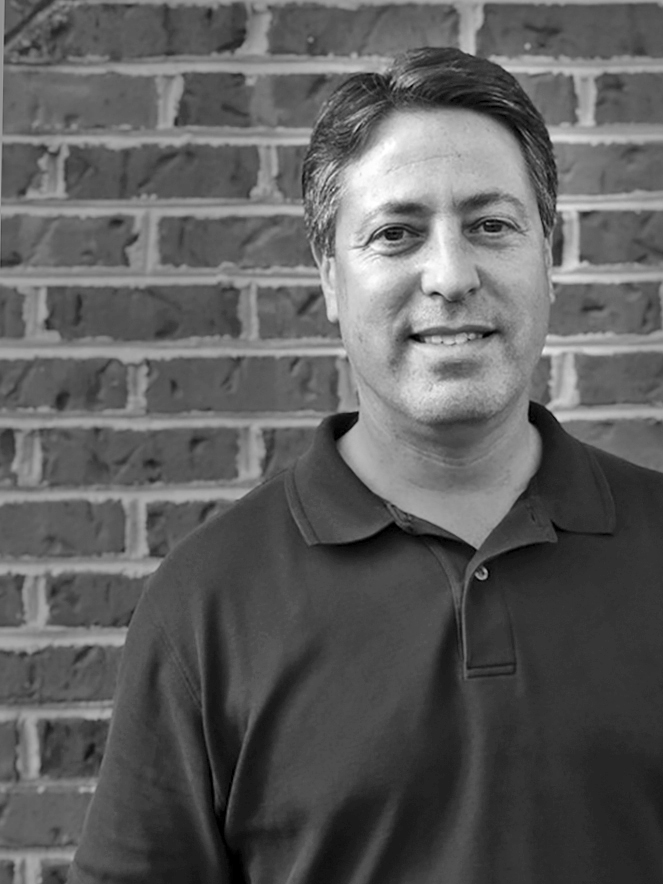
- Have your photographer stand back far enough that they can capture more than just a close-up of your face. We should be able to see your whole head and an inch or so above it, plus at least your shoulders.
- Check out the staff page of our website to get a better idea of what an excellent headshot looks like.
Photographing Events
 Enlisting a friend or family member or hire a professional to photograph your event will help you a lot. If that’s not possible, or if you need to offer guidance to your designated photographer, consider the following:
- Take dynamic photos from a variety of different angles.
- Snap shots of different things: the speaker or presenter, the venue, any table or display, activities, and more.
- Avoid taking photos of children’s faces without their parents’ permission.
Filters
Most photo editing programs come equipped with “filters”. As on a traditional camera, a filter is used to modify the entire image by changing elements like the color, light, contrast, or focus. A digital filter can be found in the photo editor that comes preloaded on your phone, on Instagram, or in some other photo editor. A filter can enhance a photo to make its colors more vivid or crisp, but it can also easily overpower your image.
- Scroll through all your filter options to choose the best one.
- Often, you can click a filter twice or perform another shortcut to find a gradient. Using this, you can apply the effect of your filter only slightly or as high as it goes.
- When it comes to filters, a little goes a long way! Choose something subtle that enhances certain features of the photo.

Instagram Filters // iPhone Filters
Cropping
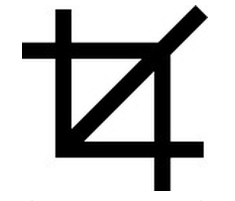
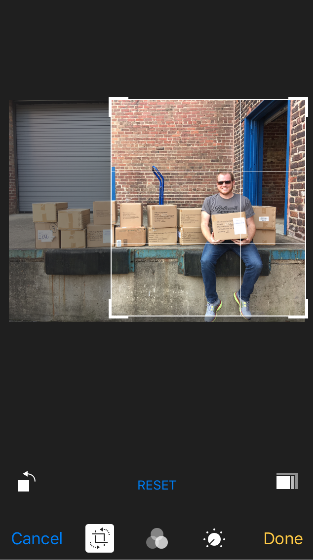 We’ve all seen a photo where the subject in the foreground looks great, but then you notice someone picking their nose in the background! Whether it’s a silly stranger, an ugly setting, or just too much empty space, cropping your photo can help bring attention where you want it and omit distractors. The “crop” icon always resembles this symbol:
- When cropping a photo, the finished product should feature the subject of the photograph in the middle of the picture or artfully balanced in some way.
- Crop a photo when there is something in the background that distracts from the main subject.
Other tools


One of the best ways to get the hang of taking excellent photos on your own is to simply mess around with the tools you have. Below is an example of the different ways you can adjust the look of a photo using iPhoto for iPhone. They all do slightly different things, and it’s better to try them out than to explain them all here. Here are some of the more notable ones:
- Brightness can add light to a dim image (though beware of overdoing it, as seen in the image below, which is clearly too bright.
- Contrast can add more brights and darks to a bland or dull image.
- Color can be helpful if your image has an unpleasant hue. For example, if your image is a little green due to light being filtered through water, you can add a light red layer over this, balancing out the green.
When you know what you’re doing, photography can be a ton of fun! It can also strengthen your online presence and add a new skill set to you CV. So go on—it’ll be fall soon, and the perfect time of year to get outside and practice snapping shots!